

Why Your Photos Still Look Flat: Mastering Soft Light Like a Pro
Soft light isn’t just about making your photos look pretty — it’s the difference between looking like a weekend warrior and a full-blown pro.
In this post, I’ll show you how to use size, distance, and diffusion to make your light wrap, glow, and flatter like it was handcrafted by the gods of portraiture themselves.
If your light still looks harsh, cheap, or flat… this is your wake-up call.
So you finally figured out how to expose your couple under the sun.
You dialed in your background. You added flash. You got the shot.
Congrats… you’ve graduated from “survivor” to “basic operator.”
But now I have a question for you — and be honest:
Did you control how that light feels?
Or did you just blast them with whatever light your strobe vomited out?
Because there’s a massive difference between a soft, elegant wrap-around glow that makes your subjects look like magazine covers...
And harsh, contrasty, unflattering light that screams, “I have no idea what modifiers do.”
Heres the thing tho. There is a time and a place for everything. And when well done, harsh light can produce amazing results.
In this two part blog series, we will break both down to you in a simple to read and understand way, so that you can make informed decisions when its your turn to lit up your subjects.
Today, we will focus on soft light.
What Is “Soft Light” vs. “Hard Light”?
Let me break it down for you, because this right here is where photographers separate from flash monkeys.
It’s not about having light.
It’s about shaping it.
Controlling it.
Making it feel intentional.
Soft Light = Flattering, Forgiving, Feels Like a Hug
Soft light wraps around your subject.
It melts shadows. It smooths skin. It’s elegant, romantic, and cinematic.
Think of soft light as the gentle voice in your lighting vocabulary — the one that says:
“Hey, I got you. Let’s make you look your best.”
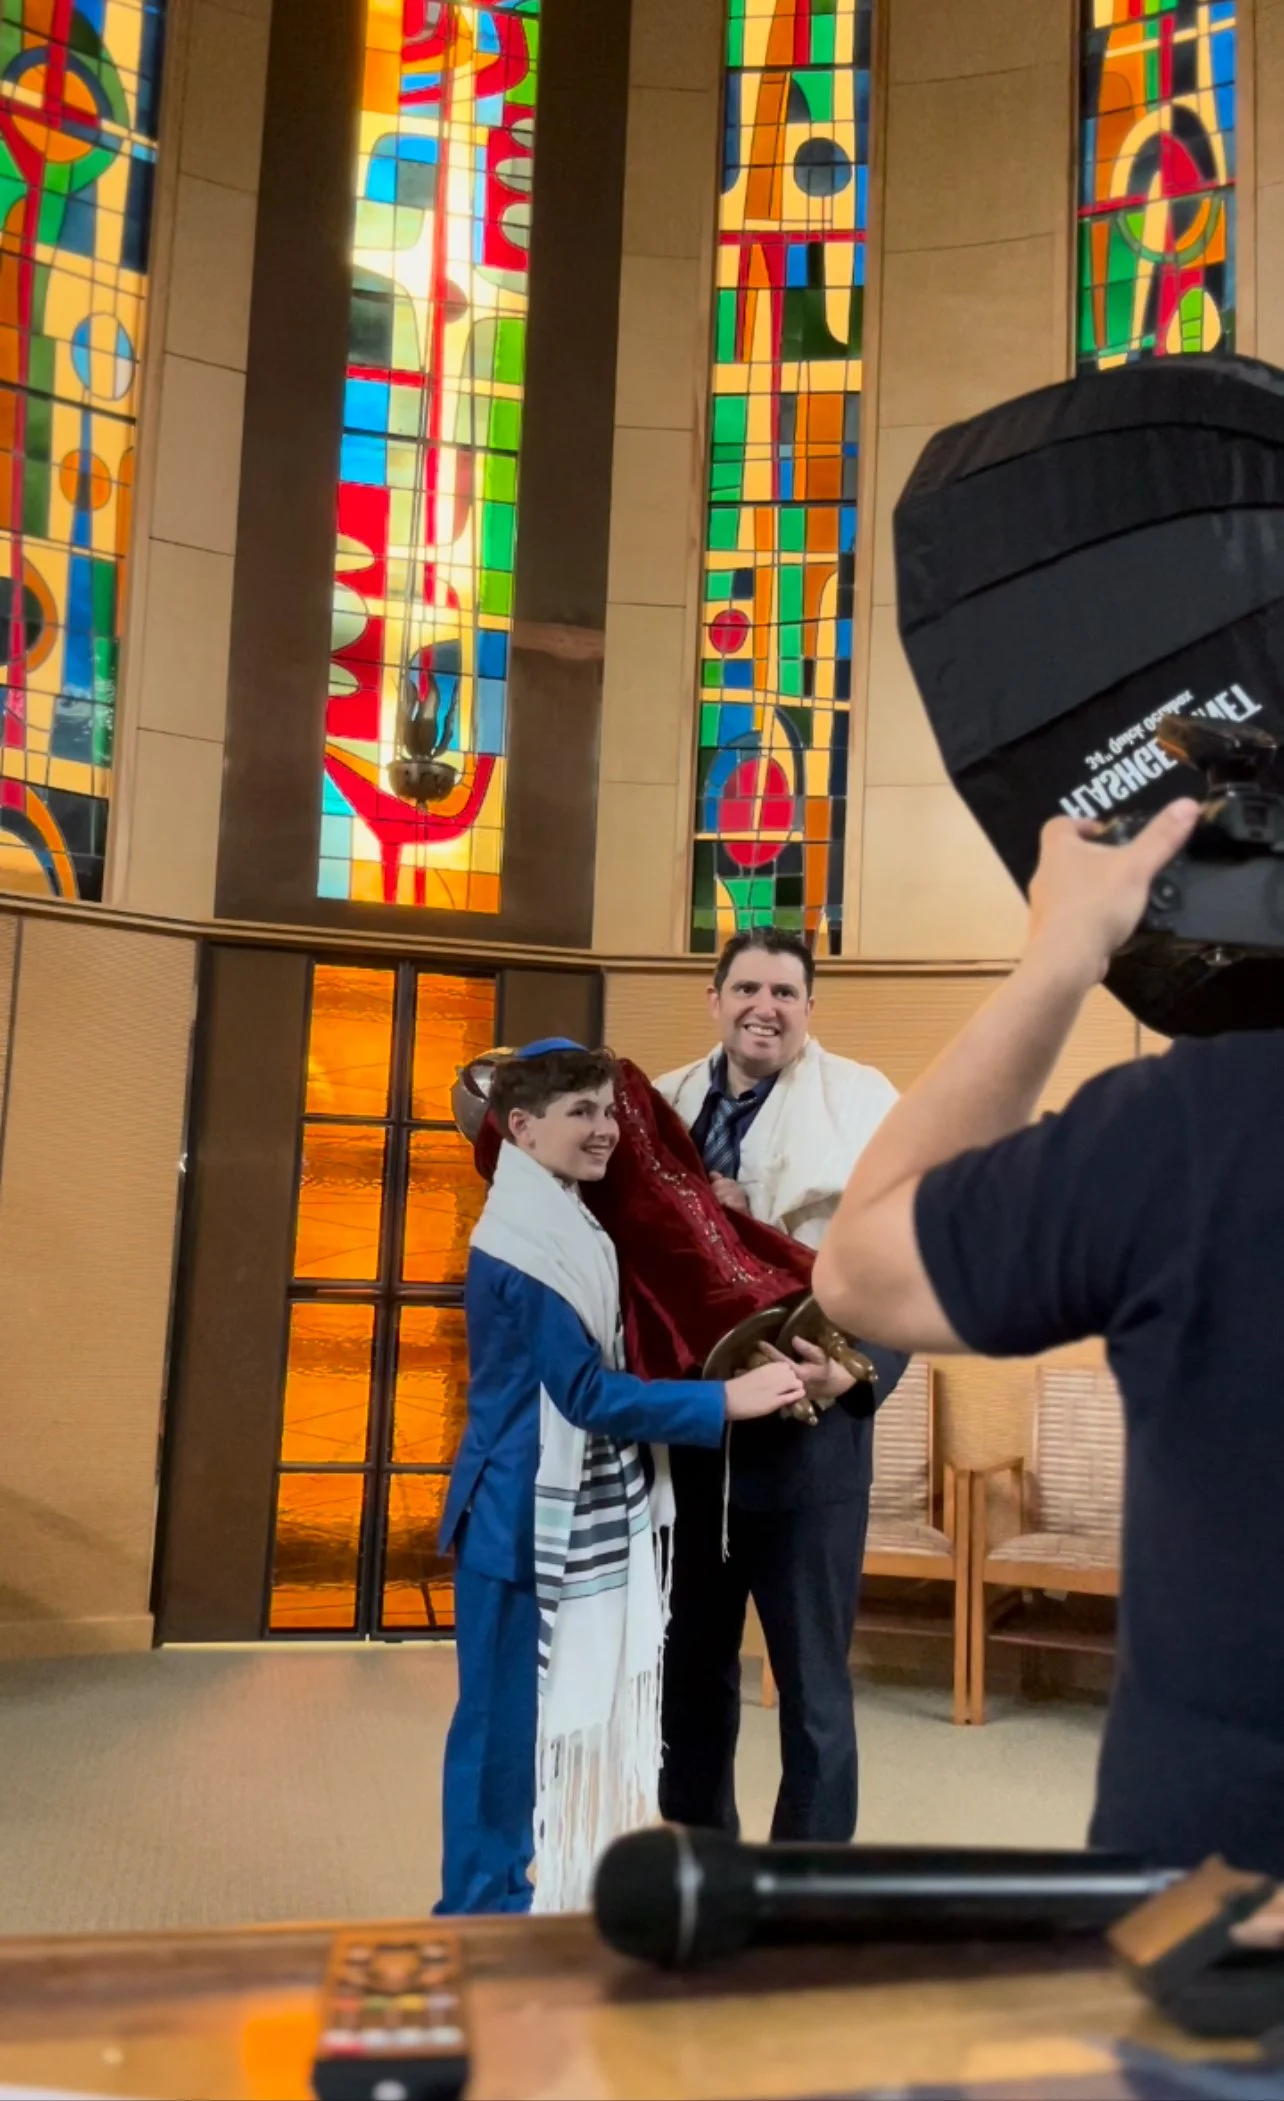
Its image where you can see the my 34” diffuser really close to the subjects
You get it by using:
big light source (like a 36" or 48" softbox)
Bringing the light closer to your subject
Using diffusion (softbox, umbrella, scrim)
What you end up with:
Smooth transitions between light and shadow
Catchlights in the eyes that look alive and controlled
Skin that doesn’t scream “help me” in post
Confused? Lets break this down one by one.
Why Closer + Bigger = Softer: The Real Reason Your Light Still Looks Like TrashLet’s cut to the chase.
You bought the big-ass softbox. You set up your flash. You expected creamy, glowy, magazine-cover light…
And your image still looks like it was lit with a flashlight and regret.Why?
Because you placed the light too damn far from your subject. Which is a common mistake.
Here’s the Rule:
The larger your light source appears relative to your subject, the softer the light will be.
Let me say that again, slowly:
It’s not just about the size of your modifier. It’s about how big it looks from where your subject is standing.
So if your 36" softbox is 8 feet away?
To your subject, it’s not a big light, it’s a tiny glowing dot.
But take that same softbox and bring it in close, 2 to 3 feet from your subject?
Now it looks massive.
It wraps. It kisses the skin. It smooths shadows.
That’s soft light.
Let’s Break the Science Down:
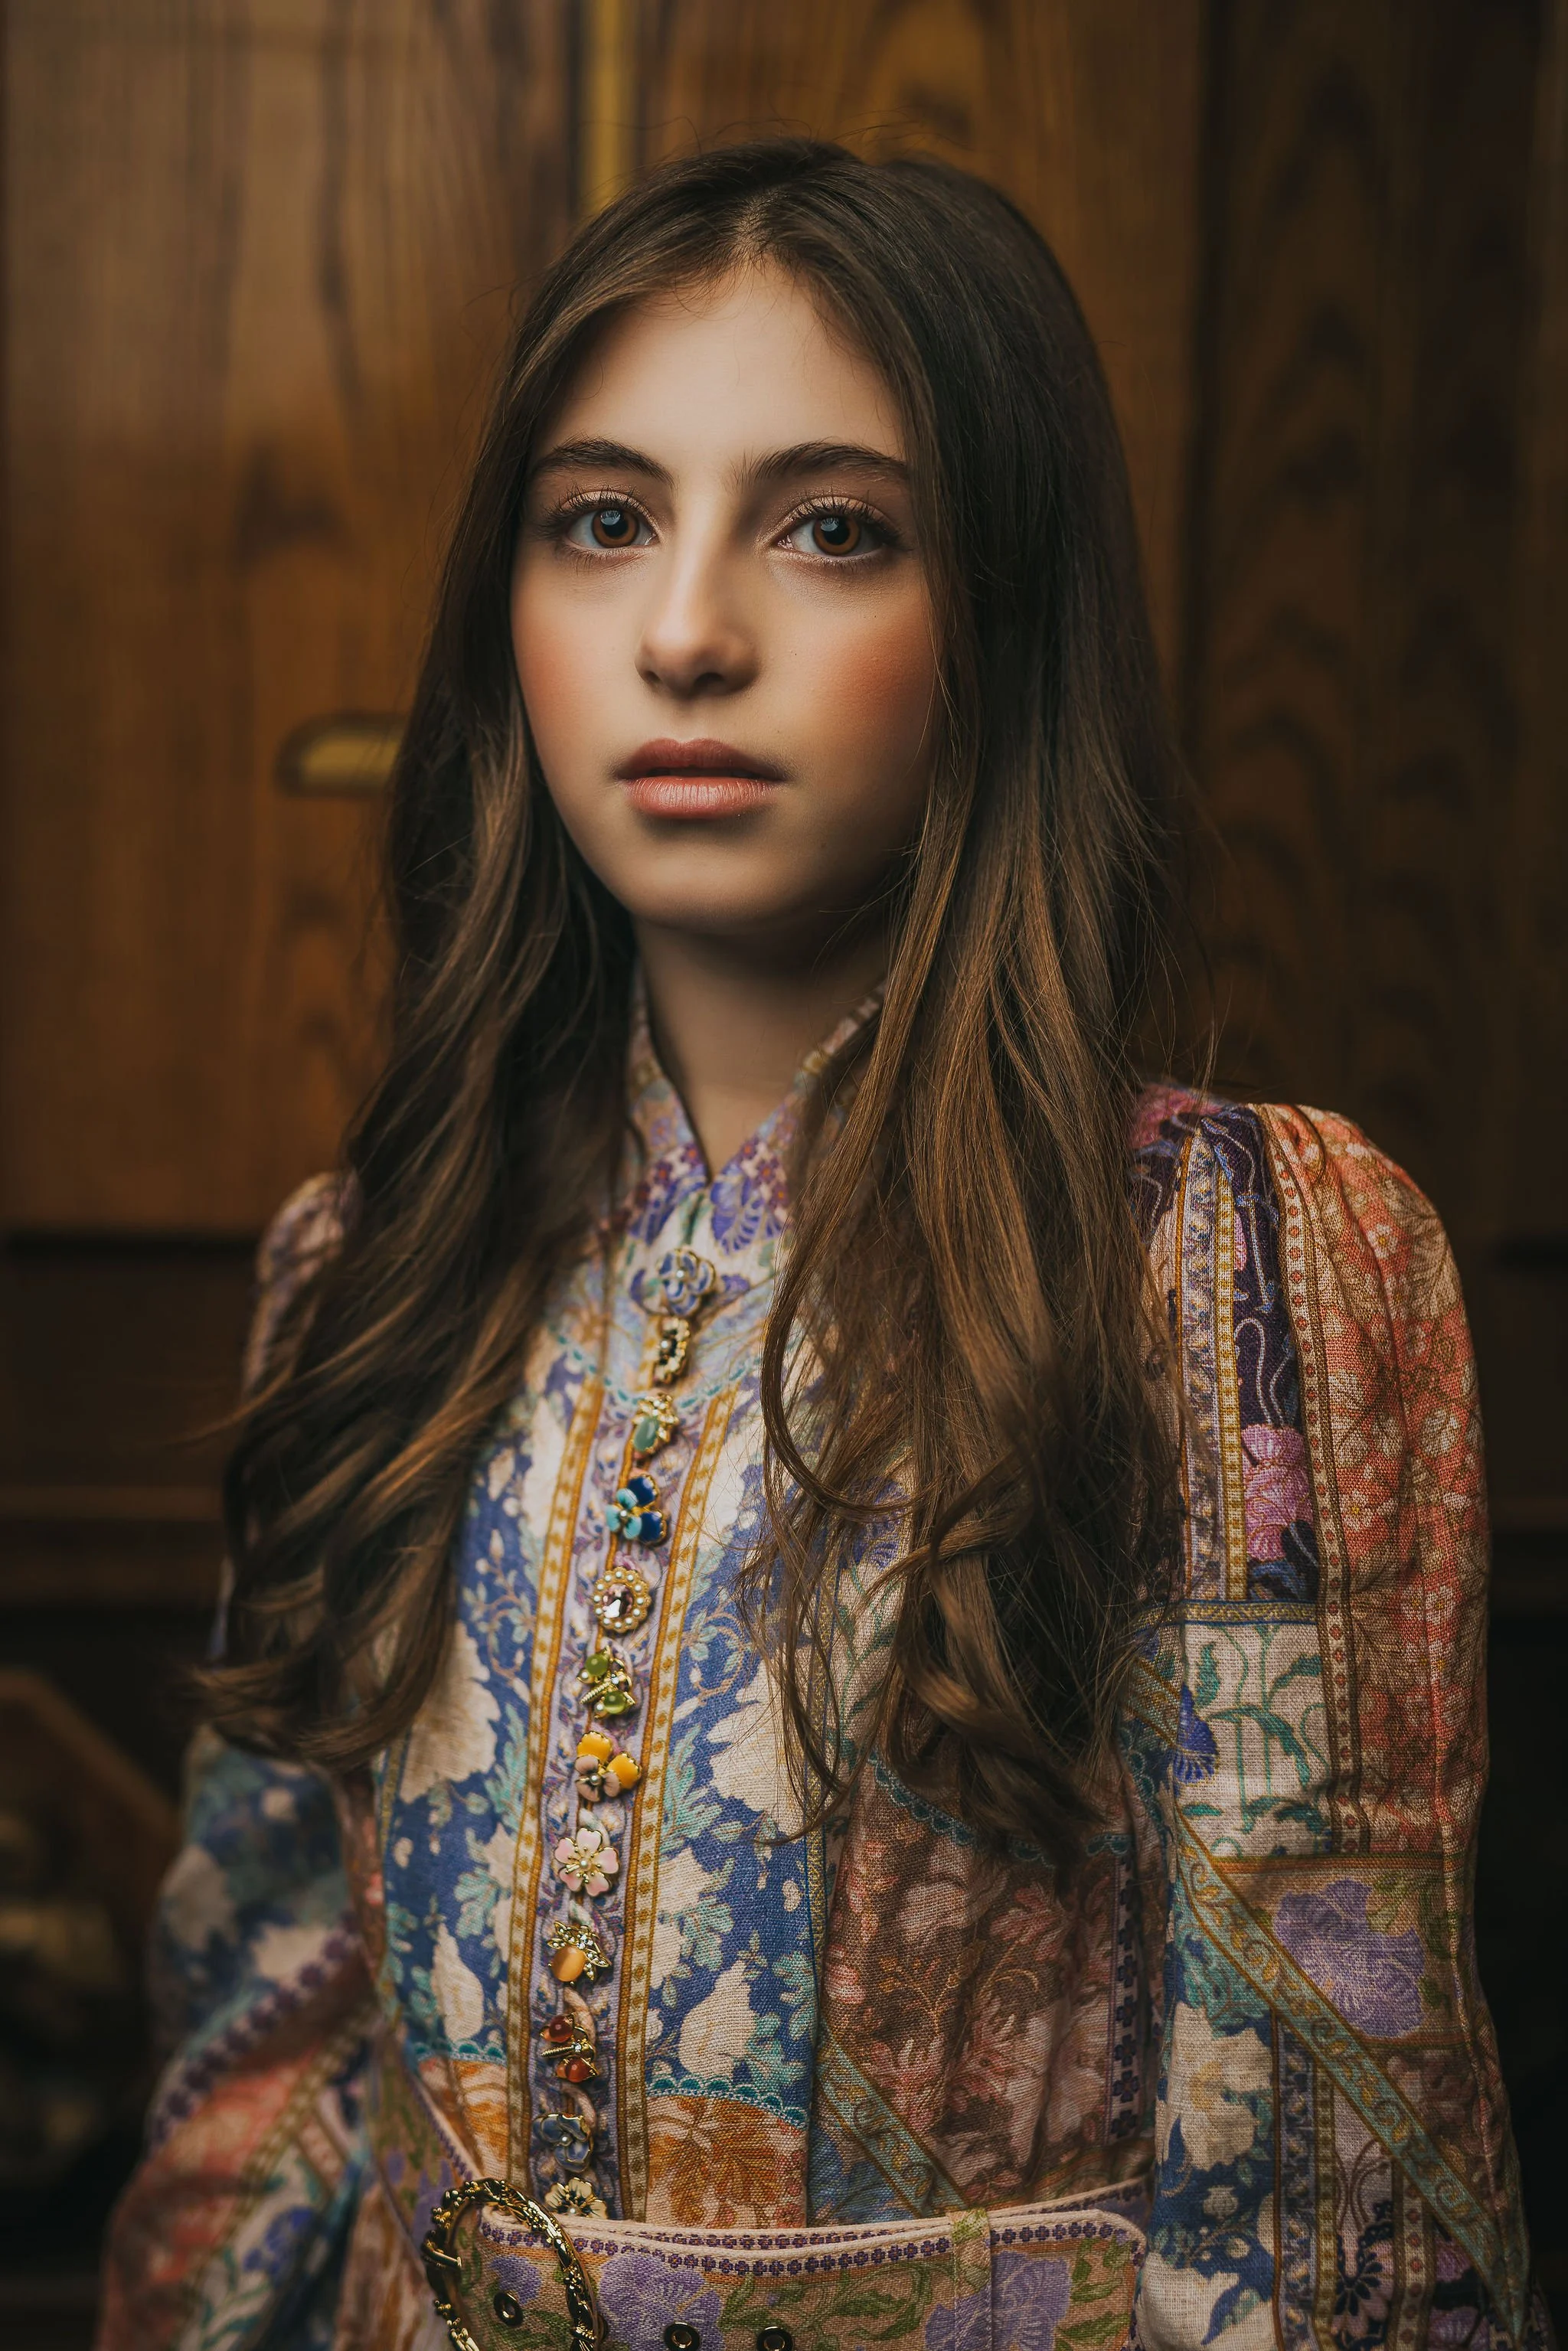
Image from a Bat Mitzvah with soft transitions from light to shadow, due to how close the soft box was — Just outside the frame.
Light travels in straight lines.
The closer the source, the more the light spreads across the subject before those shadows even start forming.
A bigger light area = longer, smoother transitions between light and dark.
That = less contrast, more glow, less retouching in post.
The closer the light to your subject, the less power you have to use.
Common Mistake:You spent all your money on a big modifier... and then put it way back near your tripod.
Don’t be that guy.
Bring. The. Light. Closer.
You want that thing just outside your frame, hugging the edge.
Don’t be afraid of it. Embrace it. That soft glow you’re chasing?
It lives in that closeness.
Which Modifiers Actually Create Soft Light (and Which Ones Don’t)
So you understand now that soft light is about size + distance.
But the modifier you choose is what determines how your light behaves, spreads, and feels.
Let’s break down the real tools that work, and why they matter.
Softboxes (Octa, Rectangular, Strip)
These are the workhorses of soft, controlled lighting.
Why they slap:
Big surface = soft shadows
Built-in diffusion = smooth, clean falloff
Directional control = keeps light where you want it, not on your background, walls, or Uncle Dave’s bald head
Best use:
Portraits, weddings, headshots, maternity, kids, corporate — basically anything with a human face.
Your Move: Get at least a 32" or 36" for weddings. Bigger if you’re not running-and-gunning. My personal favourit? The 34” quick Octabox. Perfect for individual shots, like a Bar Mitzvah boy or Senior sessions, as well as the occasional family session and Bride and Groom portraits.
Umbrellas (Shoot-Through or Reflective)
These are great for quick setups or when you need big, soft light fast.
Why they’re decent:
Cheap and portable
Great coverage
Big surface area = softness
Why they suck sometimes:
No control. Light spills everywhere.
Shoot-throughs = soft but messy
Reflective = soft but harder to aim
Best use:
Group shots, behind-the-scenes, large spaces, fast-paced environments
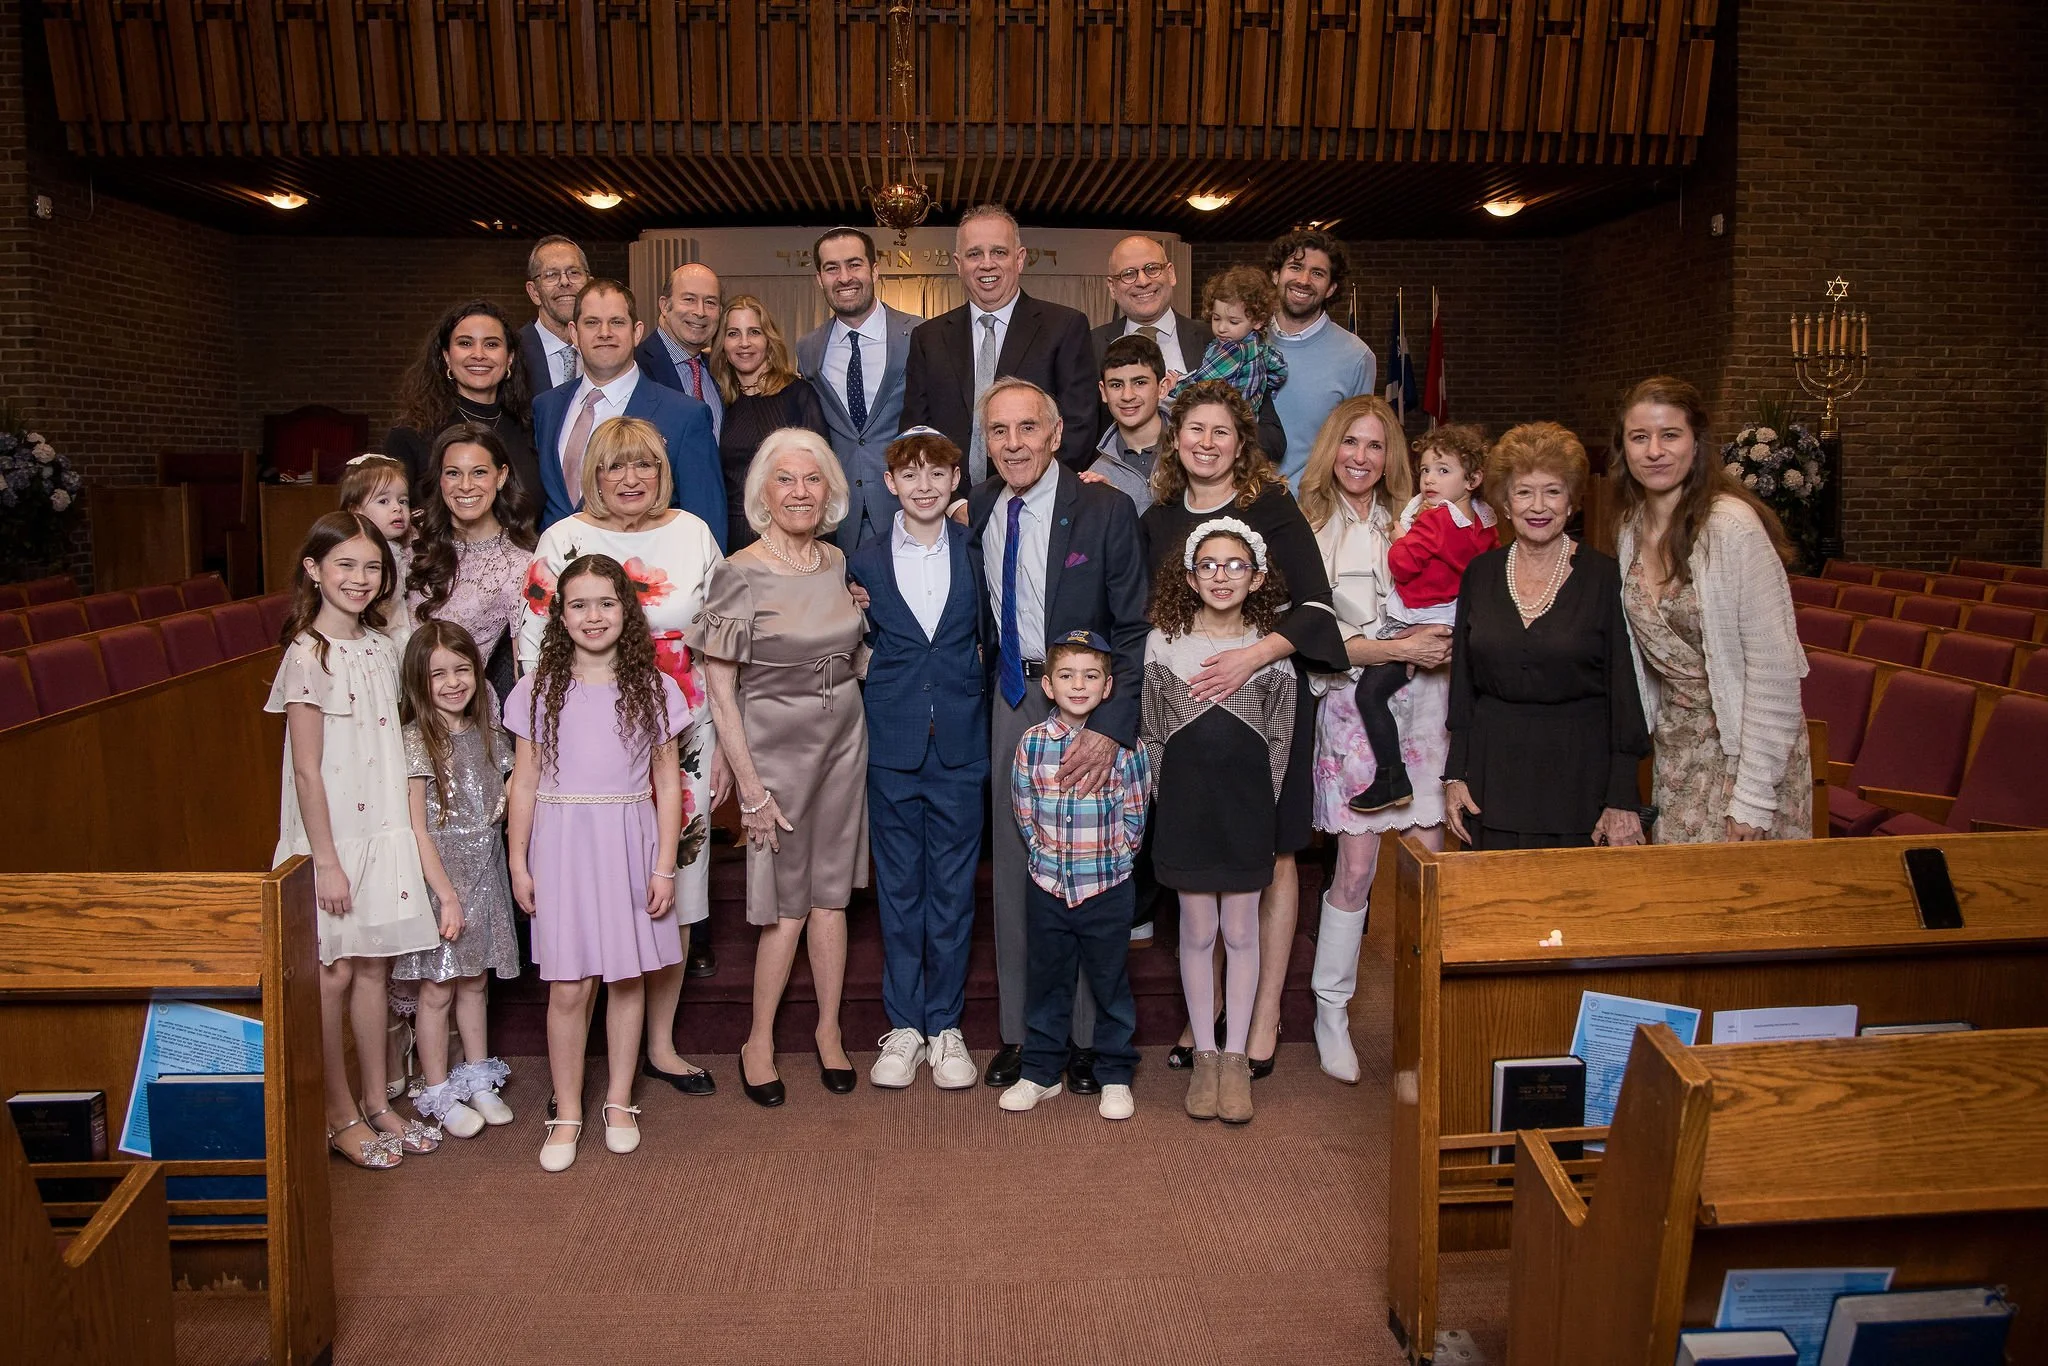
Family formals during an event done with a 7 foot umbrella
Your Move: I use a 7 foot reflective umbrella for family formals during weddings. Fast to set up and take down, gives me enough light for both big and small groups like in this example above.
Parabolic Modifiers with Diffusion
These babies are like Ferraris of soft light — when used correctly.
Why they’re fire:
Deep throw + control + softness
Can be used hard or soft depending on the setup
Looks cinematic as hell
Why they’re tricky:
Expensive
Bulky
Needs distance and patience
Best use:
Fashion, editorial, signature wedding portraits where you’ve got time and control
Your Move: If you’re gonna use one, add a diffuser or inner baffle to soften the hell out of it. Otherwise, it’s punching too hard for this topic.
What NOT to Rely On for Soft Light:
Bare Bulb Flash → not soft, not controlled, total chaos
Speedlights with no modifier → welcome to raccoon-eye city
Cheap knockoff softboxes with no diffusion → hard shadows with a false sense of security
Your camera’s pop-up flash → delete your camera. I’m kidding. (But also… don’t.)
Now, if you want a total breakdown of real-world lighting setups I use to get that soft cinematic wrap, just click here
Next week we will talk about high contrast harsher light, and how to use it to create highly cinematic pictures. As usually, don’t forget to drop that follow on my Instagram @rochastudio and if you have any questions for me, I am just a text message away.