
Light is Light Series Ep 03: Using light with purpose on real wedding days.
In the last post, I promised we’d take this series one step further, less theory, more action. Today, we’re diving into real wedding images I created with off-camera flash (OCF). Some shots were built entirely with flash as the main source, others are a blend of flash and natural light.
The goal here isn’t to throw numbers at you, it’s to show you how I approach tricky lighting conditions, the thought process behind my settings, and how light, whether harsh or soft, can always be shaped into something beautiful.
Let’s break down the first image.
Q: “this shot of Sabrina and Michael in downtown Montreal looks insane. Midday sun, harsh light, how did you even pull this off?”
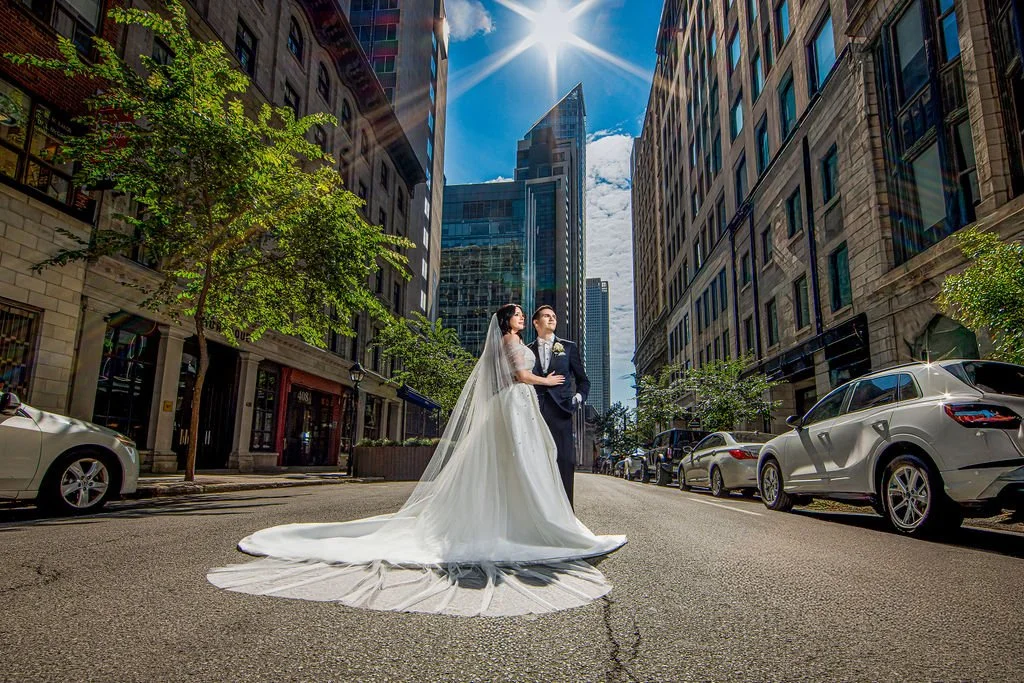
Picture of a real B&G downtown Montreal
Canon R5
Lens Canon 14mm
F16
SS 1/200
ISO 200

Picture of a real B&G downtown Montreal, in a real wedding day
Same settings as above
Bride & Groom on a real wedding day. Picture taken at 5:23
Canon R5
Canon 14mm lens EF
F18
SS 1/200
ISO 200

Real bride on her wedding day. Picture taken at 5:26
F16
SS 1/200
ISO 200
Me: Great question. Most photographers hate noon sun, but I see it as a canvas. For this shot, I started with the Sunny 16 rule: f/16, ISO 200, and 1/200 sec gave me the perfect base exposure for the background, the sky, the buildings, and that crisp sunburst overhead. It’s important to note that I only use these settings when I am using a wide angle lens. I want the subjects and the background to be visible, in focus AND have that dramatic and high contrast look throughout the frame. Once that was locked in, I added off-camera flash to bring the couple back into balance without losing the drama of the scene. In this case, camera right. In comes the frame, soon as balance between background and couple exposure is achieved. It’s a real wedding day, on crunch time, in the middle of a busy street, not a lot of time.
The buildings act as leading lines. The street is the middle of the frame, The buildings behind and the sky add depth to the image.
Equipment used:
Canon R5.
Lens Canon 14mm lens EF
Light used:
AD400 pro
34” quick octagon from Flashgear.net, in a C light Stand, camera right, about 8 feet hight, pointing down at the couple.
Aperture f/16: I wanted to expose for the background and capture that crisp sunstar effect. Smaller apertures like f/16 naturally create those starbursts, and it also gave me deep depth of field so the buildings, sky, and couple were all sharp.
Shutter speed 1/200: Since I was working with ISO 200, the Sunny 16 rule points me to 1/200 sec as the correct shutter for proper exposure in bright sunlight. It kept the ambient light balanced without blowing out the sky.
ISO 200: Normally I’d shoot at ISO 100, but bumping to 200 gave me a faster shutter option while still keeping noise negligible. It also matched perfectly with the Sunny 16 formula.
The 14mm was intentional because:Drama & Scale: A wide lens exaggerates the scene. It makes the buildings feel taller and the street more epic, turning a simple downtown block into a cinematic stage.
Storytelling: With a wedding portrait, I don’t just want the couple—I want the environment. The 14mm let me showcase the city, the sky, and the sunburst all in one frame.
Movement: It amplified the veil toss, stretching it across the frame like a brushstroke, which wouldn’t have had the same impact on a longer lens.
So the 14mm gave me the big, dramatic, environmental storytelling shot
With those base settings locked in, I added off-camera flash to lift the couple out of the shadows and match them to the environment. That’s what gives you the best of both worlds: the drama of the midday city and the couple perfectly lit in the middle of it.
Now, from a crisp f/16 urban sunburst to a soft, romantic f/2 portrait. Same couple, same street, same sun blazing in the sky. wider aperture for a nice blurred background
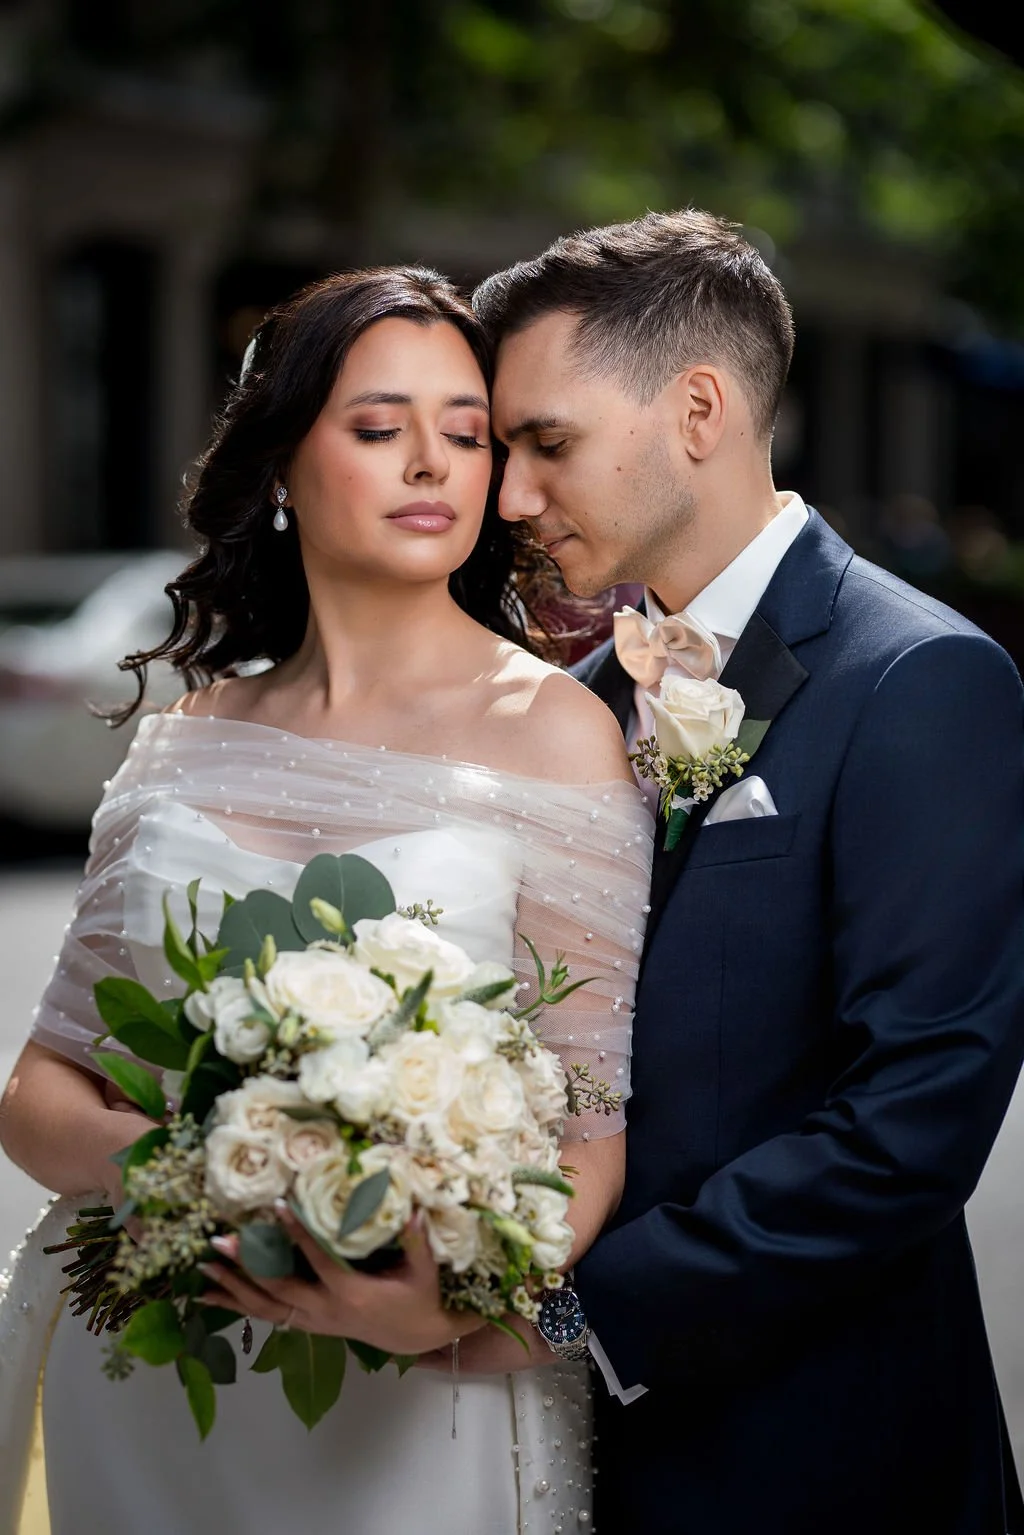
Q; Okay, Braulio, the first shot was dramatic with the sunburst and the whole city in focus. But this one feels so much softer, more intimate. What changed?”
Real Bride & Groom on their wedding day. Picture taken at 1:40 pm
F2
SS 1/1000
ISO 50
Real Bride & Groom on their wedding day
Same settings as above
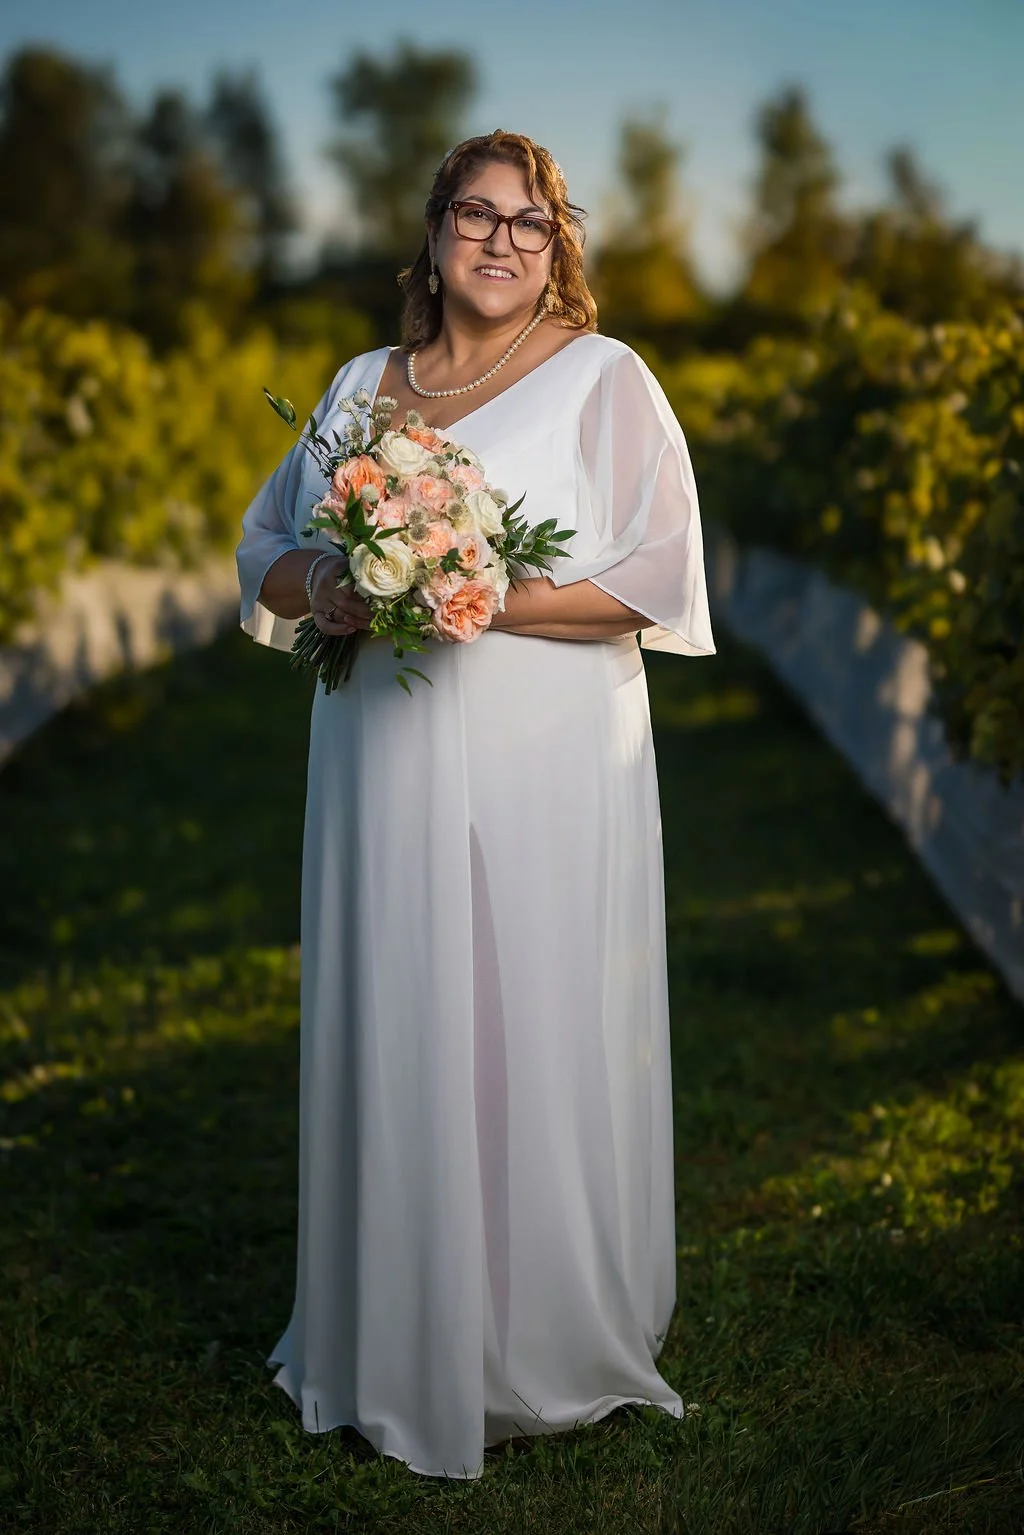
Real Bride on her wedding day. Picture taken at 5:41 pm
Canon R5
Lens Sigma Art 85mm lens
F2
SS 1/3200
ISO 100
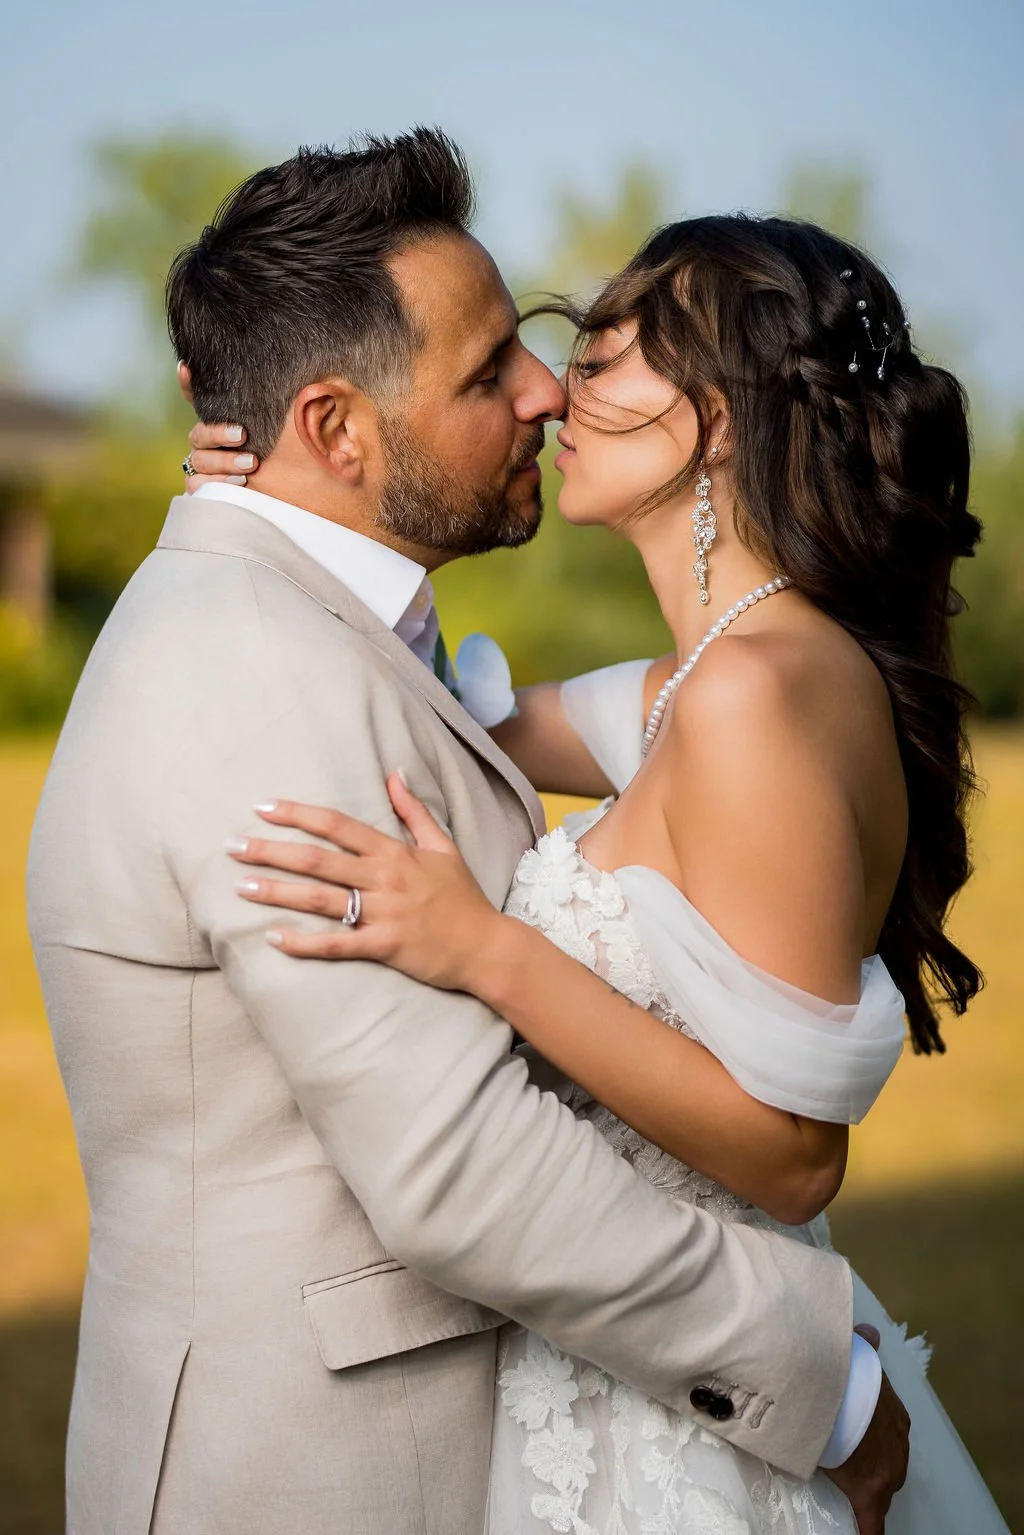
Picture of a real B&G on a real wedding day. Picture taken at 5:37
Canon R5
Lens Sigma Art 85mm lens
F2
SS 1/5000
ISO 100
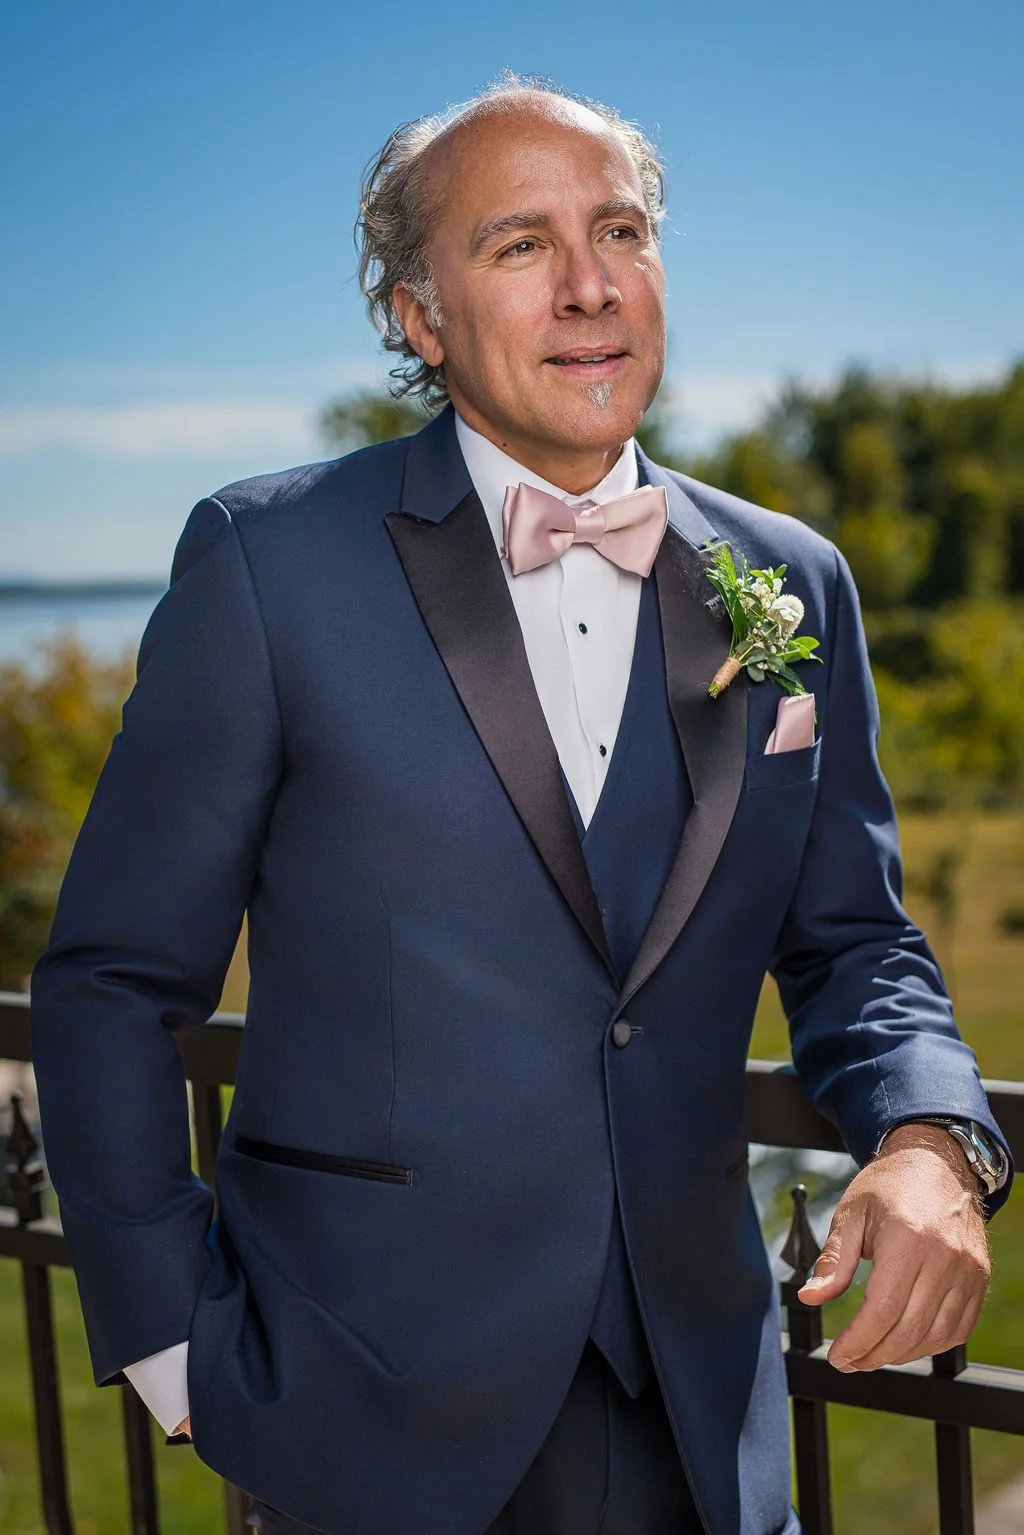
Picture of a real groom on his wedding day. Picture taken at 2:21 pm
Canon R5
Lens Sigma Art 85mm
F2
SS 1/2000
ISO 100
Me: Exactly. Different mood, different tools. Here I wanted to blur the background and make the couple stand out, so I opened up my aperture to f/2. I also changed the lens. From a 14mm lens to a 85mm lens. That shallow depth of field melts the cars and city details away, keeping all the attention on them. My settings were f/2, 1/1000 sec, ISO 50. The fast shutter kept the image sharp in bright light, while ISO 50 gave me cleaner tones and let me shoot wide open. The result is a tighter, more romantic crop that feels timeless compared to the dramatic wide shot from before.
Aperture f/2: I wanted a shallow depth of field so the background would blur away. At f/2, the couple stays sharp, but everything behind them melts into softness, perfect for an intimate, romantic feel.
Shutter speed 1/1000: With such a wide aperture in bright daylight, I needed a fast shutter to avoid blowing out the highlights. 1/1000 sec kept the exposure balanced and the image tack sharp.
ISO 50: Normally I’d be at ISO 100, but dropping to ISO 50 gave me a little extra control. It let me stay wide open at f/2 without overexposing, and it kept the tones super clean and smooth.
The 85mm is my go-to lens for portraits because:Compression: It naturally compresses the background, making it look closer and creamier. That works beautifully with f/2 to really melt distractions away.
Flattering perspective: The 85mm keeps facial features natural and elegant—no distortion like you might get at wider focal lengths.
Isolation: Paired with a wide aperture, it gives incredible subject separation. The couple stands out crystal clear while the city falls into soft blur.
In short, the 85mm gave me that intimate, cinematic portrait look that feels timeless—perfect for balancing out the big, dramatic wide shot we did earlier.
So every setting had a purpose: shallow depth of field for mood, fast shutter for control, and low ISO for quality. Together, they created this soft, elegant look that complements the couple’s moment.
Posing & Light Placement
Before you even pose your couple, you need the right light. In bright conditions like these, your flash has to be powerful enough to compete with the sun—400 watts and up will usually do the job.
Modifiers That Work
Go with something that wraps light beautifully while still giving direction:
A beauty dish for punch and shape.
A softbox for smoother wrap.
Or a hybrid like the Flashgear 34" beauty dish/quick octabox, which combines both qualities.
Where to Place the Light
General rule: Always place the light to the side of your position—either left or right. This creates dimension and avoids flat lighting.
With a wide lens (like 14mm): Keep the light further away from your subjects. This gives a punchier, contrasty look, but it means you’ll need more power. Keep it just outside the frame (or barely visible for easy Photoshop cleanup).
For softer light: Move the light as close as possible to your subjects. The closer the source, the softer the falloff, and the less power you’ll need. You can even feather the light (angling it slightly past your subjects) for a smoother, more even wrap.
Posing With Light in Mind
Once the light is set, pose your couple so their faces naturally turn toward the light. This makes the light work for them instead of against them, giving you beautiful highlights and shadows that sculpt their features.
Your pose will only look as good as the way the light hits your couple. The rule of thumb I follow is simple:
Wide angle images: Have their faces toward the light. With a wide lens, you’re often working with a punchier setup and higher contrast. That means shadows will fall harder behind them—but that’s the point. It creates drama and separation. The key is making sure those shadows don’t fall in the wrong places—under the eyes, nose, or neck. Keep those areas clean, and the rest of the scene can handle the contrast.
Close-up portraits: Here, I prefer the nose pointing toward the key light. Even if you’re using a soft modifier, if the face turns too far away from the light, the shadow side becomes too harsh, which feels unflattering in tighter frames. By pointing the nose toward the key light, you get a smooth transition from highlight to shadow, adding depth and dimension without losing softness.
Think of it this way: wide shots thrive on contrast, close-ups thrive on smooth transitions.
Reflections:
At the end of the day, every image in this breakdown had the same starting point: light is light. Whether I’m shooting with a wide 14mm lens at f/16 under harsh midday sun, or an 85mm portrait at f/2 with a blurred background, the process never changes—I read the light, I decide how I want the image to feel, and then I use my tools to make it happen.
What I hope you take from this is that there’s no such thing as “bad light.” Harsh sun, soft shade, golden hour, or flash—it’s all just light, waiting for you to shape it. The Sunny 16 rule, lens choice, off-camera flash, posing toward the key—these aren’t tricks, they’re fundamentals. Master them, and you’ll never panic in difficult conditions again.
So the next time you step into a wedding day and the light isn’t “perfect,” remember: it doesn’t need to be. Light is light—what you do with it is what makes the photograph.
On my next blog, we will dive into my process of lighting couples indoors, in the absence of Natural light. What happens if it rains and you have to go inside? And there’s no interesting place for you to take beautiful portraits for your couple? Or, if you have to shoot after sunset, with zero natural light available?
Stay tuned.